Challenger 2 ATDU T11
 hull
hull 16,376,000
 :(
Blueprints

Solid downtier build, You could also use Royal For better penetration (and ATDU Hull For armor but i prefer the contender 2m for lower profile) but the Spud-B has better Post penetration
Armor is….. THE BEST and Mobility is suprisingly decent like most other tier 11’s
[WITH ROYAL]: Be Mindful of where you shoot, aim for weakspots and refrain from trading shots since you often face other Challenger 2 ATDU’s which has better armor. Flank and avoid face to face fights whenever possible.
[WITH SPUD-B]: Aim for Weakspots on specific tanks, Flank whenever possible and mind that your reload is somewhat long.
Turret ring MIGHT be a problem so be mindful of that
Fun
No ratings yet
to rate this build.
No reviews yet. Be the first to review!
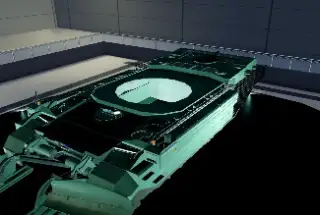

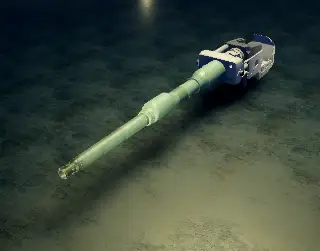
As I was checking out the new parts, and I noticed that the Taranis has a ridiculously spaced out turret crew, along with a large plate that blocks a majority, if not all of the spall. This means that in a Contender 2M hull, even an LFP shot won’t usually kill your turret crew, this gives it unparalleled survivability in T11. Even your mantlet will be protected by your breech and your ammo usually wont get hit. Pros: Insane survivability, great frontal turret armor, 22.1 HP/t , lower profile compared to other turrets, -9.5 gun depression + suspension aim, Gen 2 thermals, 2-32x zoom, 2.5km fcs, has radar , high ammo capacity + all blowout , and autoloaded . Cons: Thin turret sides autocannons will pen , no autocannon secondary its not Yoyota after all , average reload 1.35 multi, 7.30 seconds with 120mm L/44 , below average hull traverse rate, and a really dim thermal for some reason. Note in practice, this build isn’t as consistent as I thought it would be, but there is still a good chance that you can survive a LFP shot if you have your turret straight forward + its still a good turret. Ideal suspension settings: Spring stiffness: 1.20x Spring Dampening: 2.00x Max Ride Height: +0.40 Max If you want more mobility, use Leclerc which would put you up to ~30 HP/t LFP and mantlet shots on Hull: Contender 2M Turret: Taranis Gun: 120mm L/44 Tested against 120mm L/44 LFP and mantlet shots on Hull: Contender 2M Turret: Black Night APS on Gun: 120mm L/44 Tested against 120mm L/44


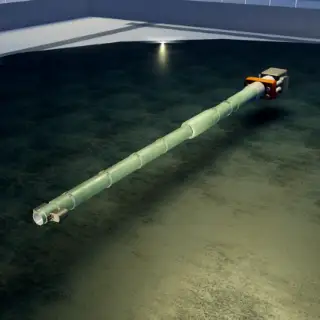
challenger 2 ATDU hull makes this black night almost unkillable i know everyone already knows this but for those who dont, feel free to use it
Weakspot is between the Mantlet and Periscope turret ring using HEAT rounds above 500mm; APFSDS will NOT work well trying to pen this thing. Thank me later and good luck, you’ll need it 😭. This thing might rival Contender 2M build of this version.

use this to get the kill requirments for yoyo mk3 fenri
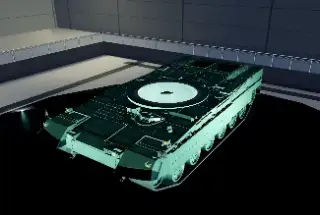

Good rounds but struggle against space armor you get proxy rounds and good Overpressure Really good for tanking shot On large map you can use the radar

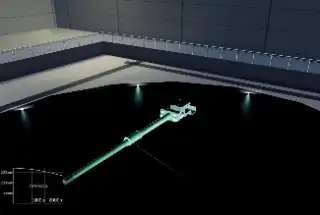
great frontal armor with 1 or 2 major weakspots not good side armor has aps use identification panels to cover the mantle